
⭐ RWAV Bridge – Full Setup Tutorial (Local MCP + Roo Code)
Talk to your music — with Roo Code, Gemini, Fireworks, and RWAV Bridge.
This guide walks you through the exact setup required to run RWAV Bridge locally using Roo Code as an MCP client with your choice of AI provider.
1. Prerequisites
You’ll need:
✅ Roon Core installed and running
✅ RWAV Bridge installed on any machine in your LAN
Download here: 👉 https://rwav-bridge.co.uk/downloads
1.1 Enable RWAV Bridge inside Roon
Open Roon → Settings → Extensions Enable RWAV Bridge
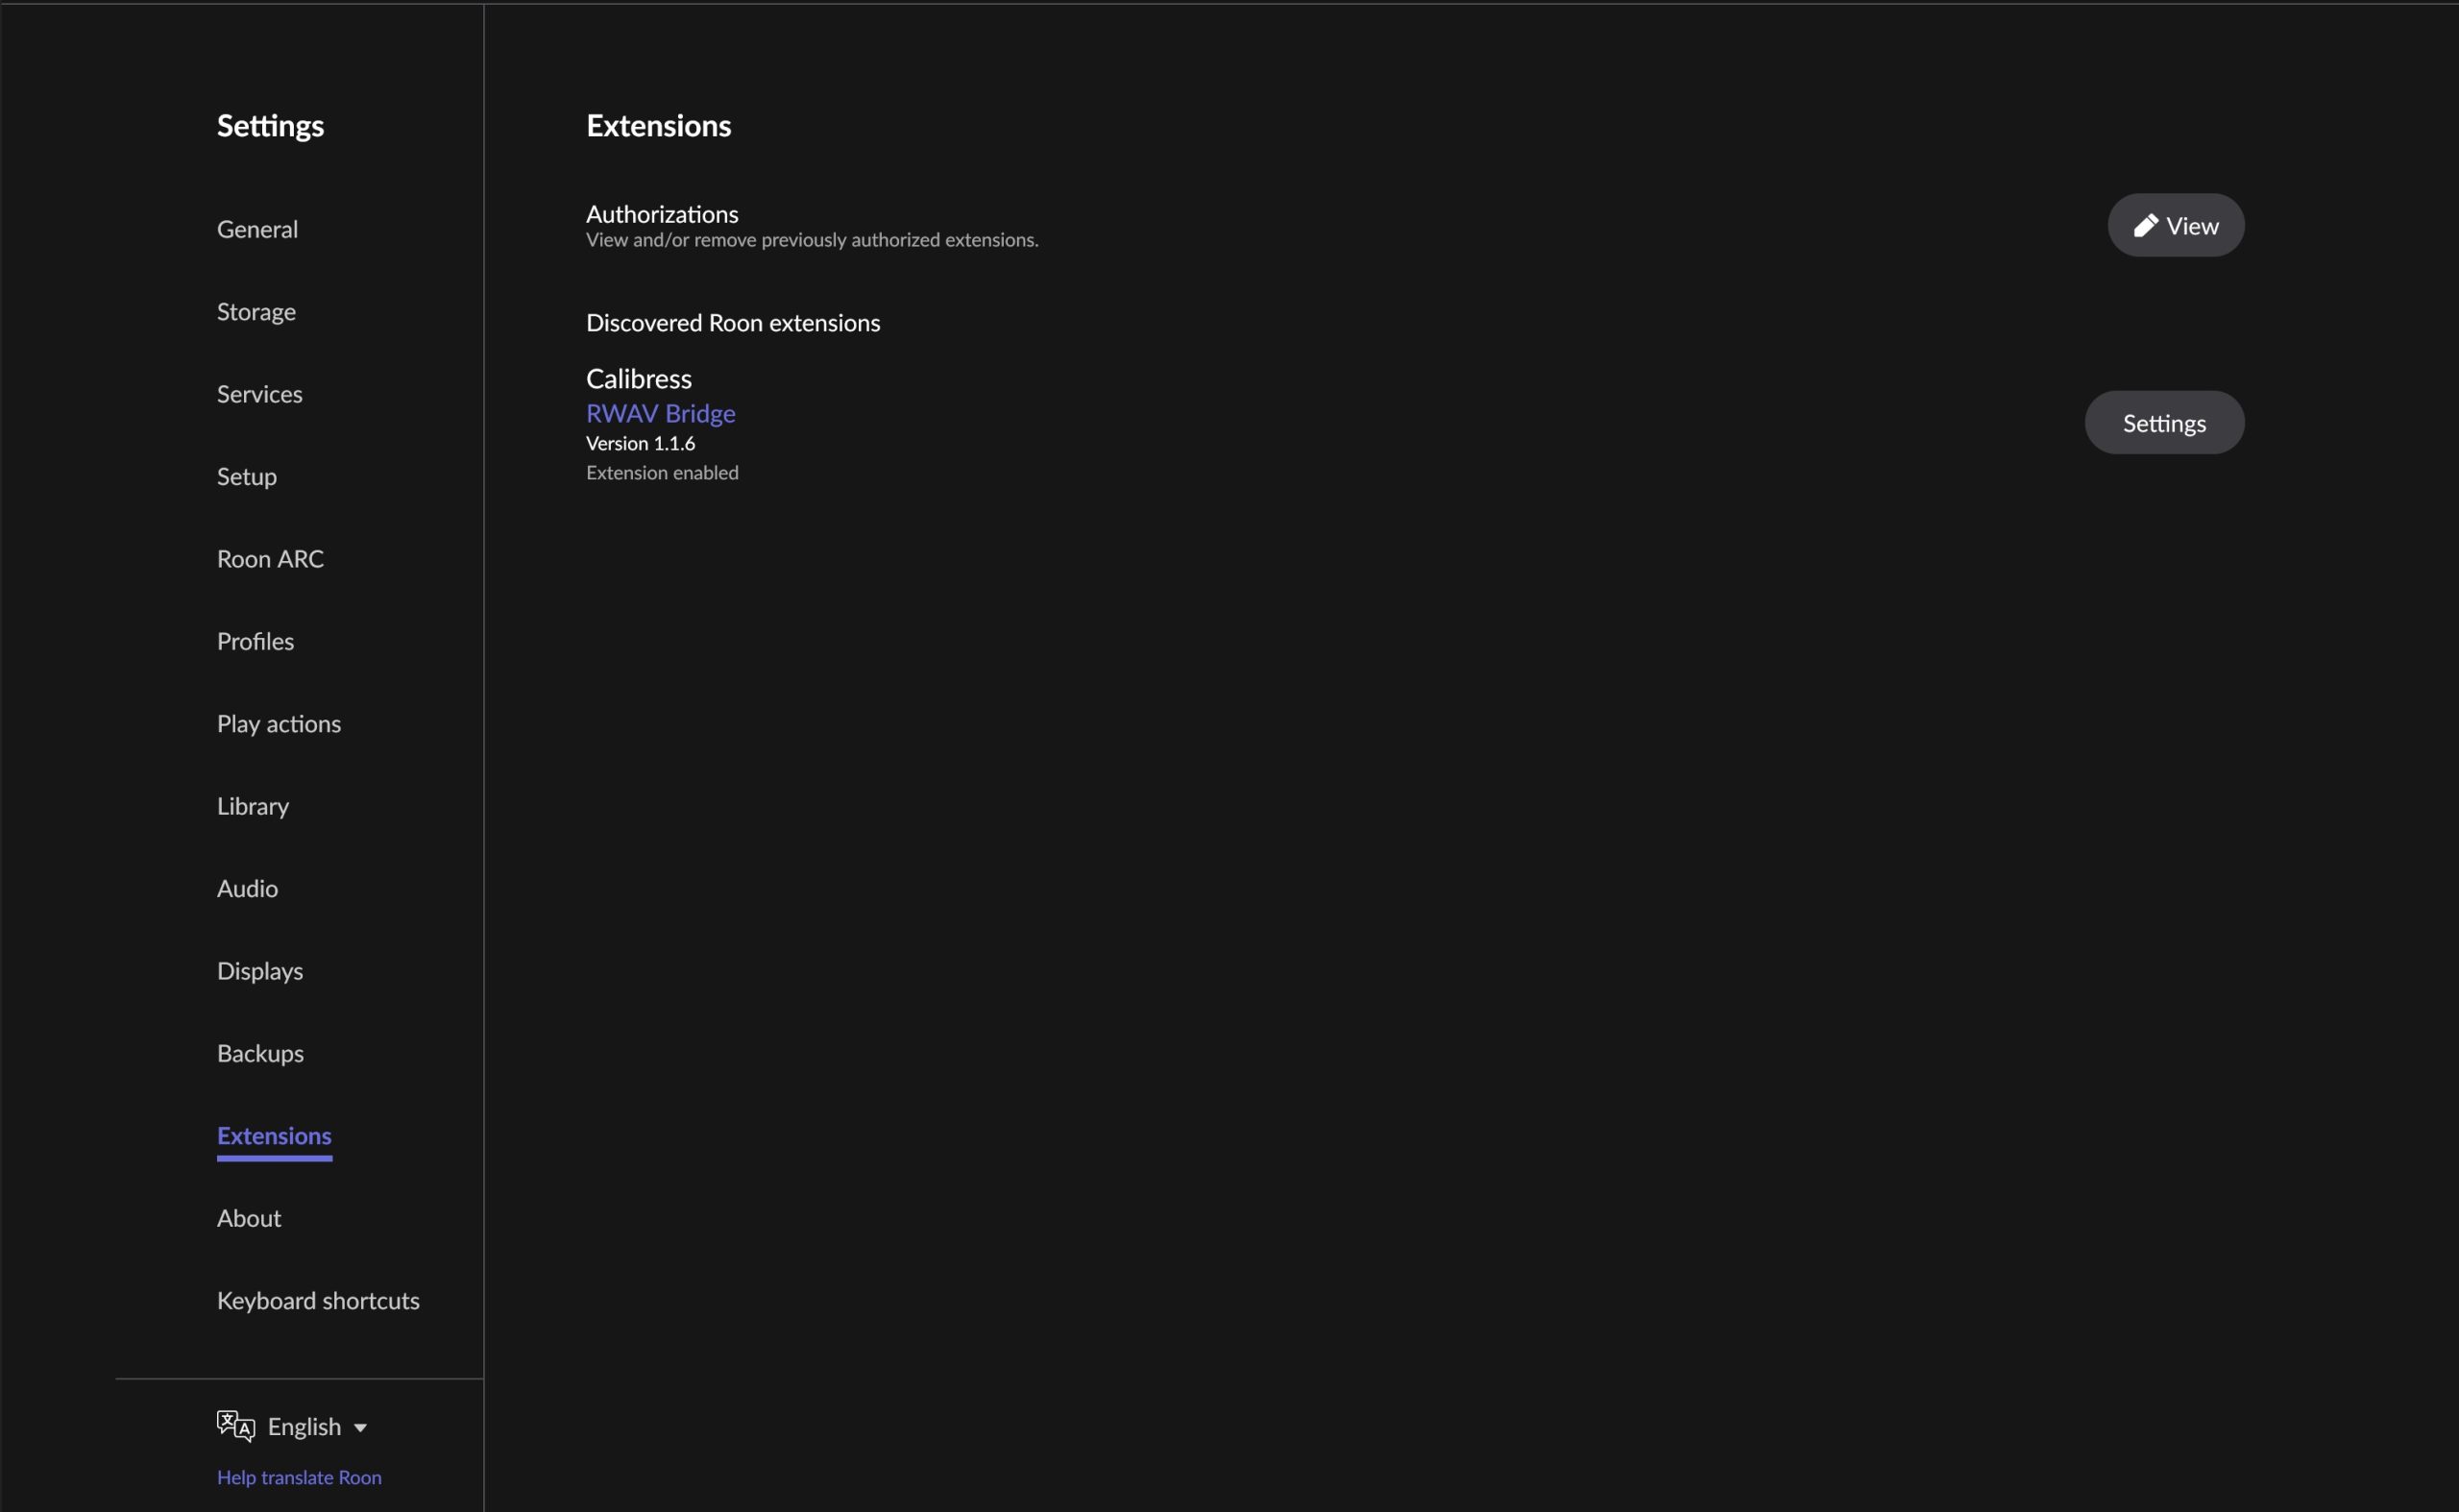
- RWAV Bridge visible
- Status: Enabled
- Version number visible
2. Install Visual Studio Code
Download VS Code for your platform:
- macOS
- Windows
- Linux
👉 https://code.visualstudio.com
Open VS Code.
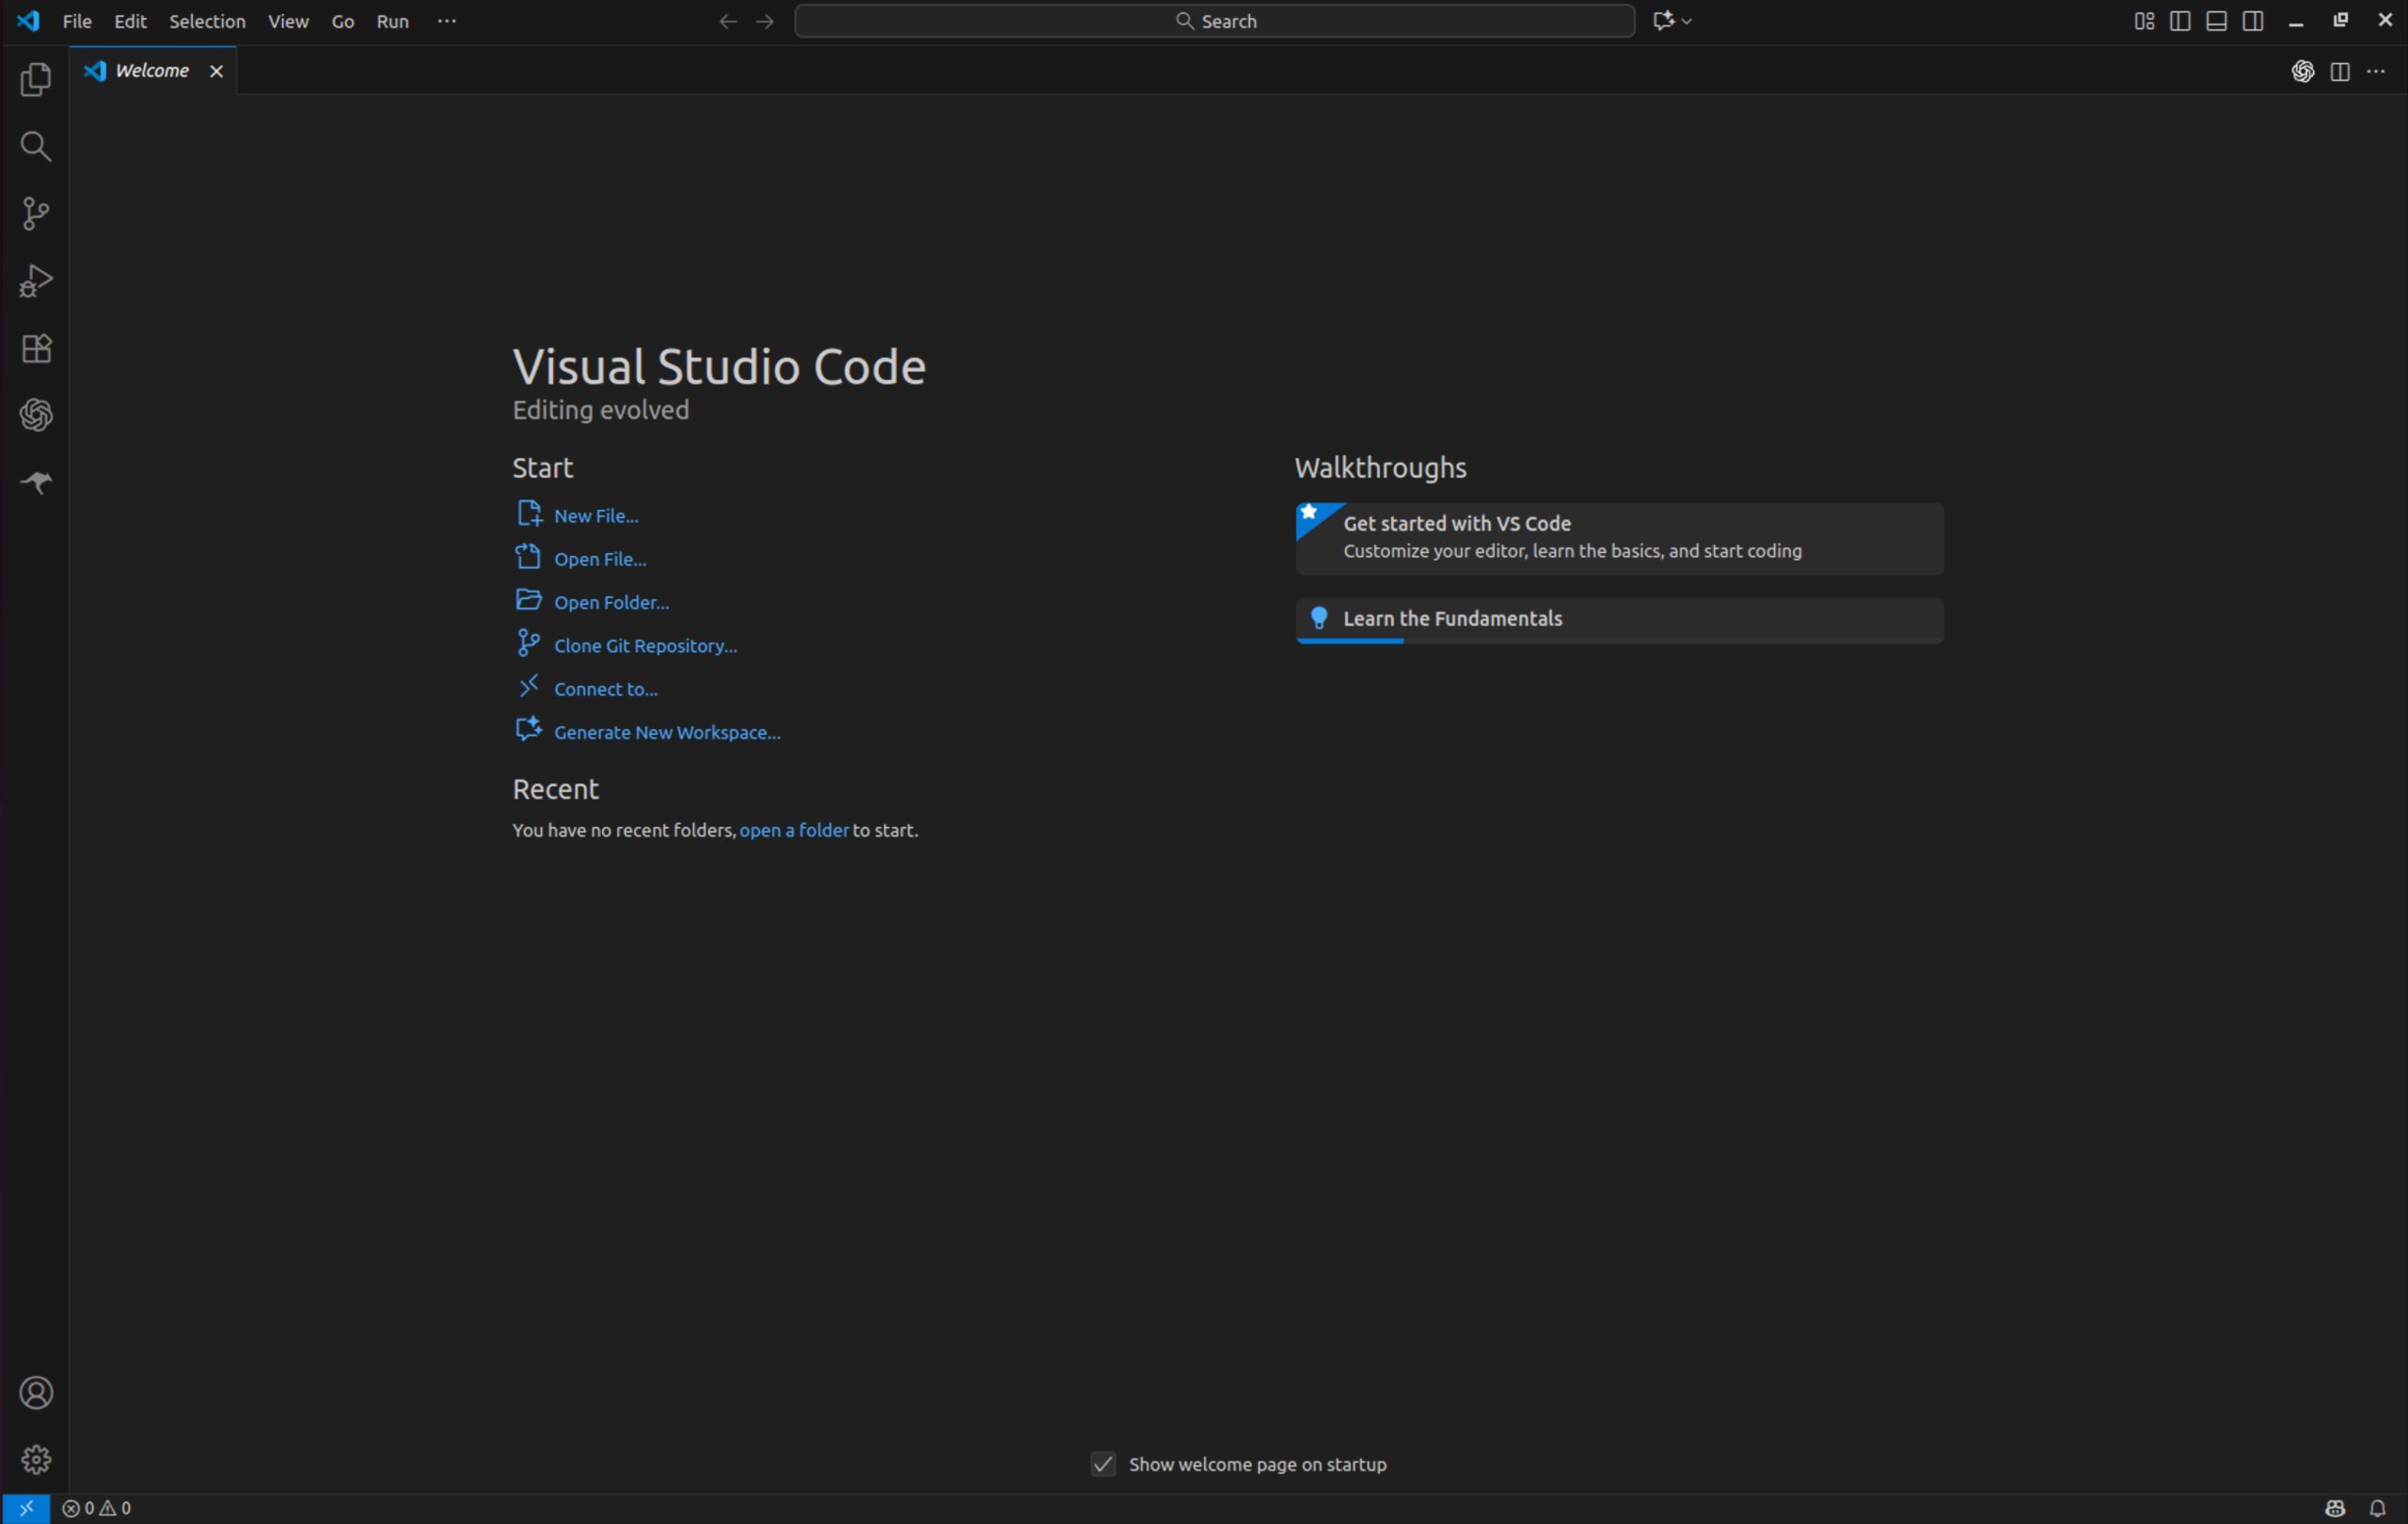
- VS Code welcome screen
- Extensions icon visible in Activity Bar
3. Install the Roo Code Extension
- In VS Code, click Extensions (left sidebar).
- Search: Roo Code
- Click Install
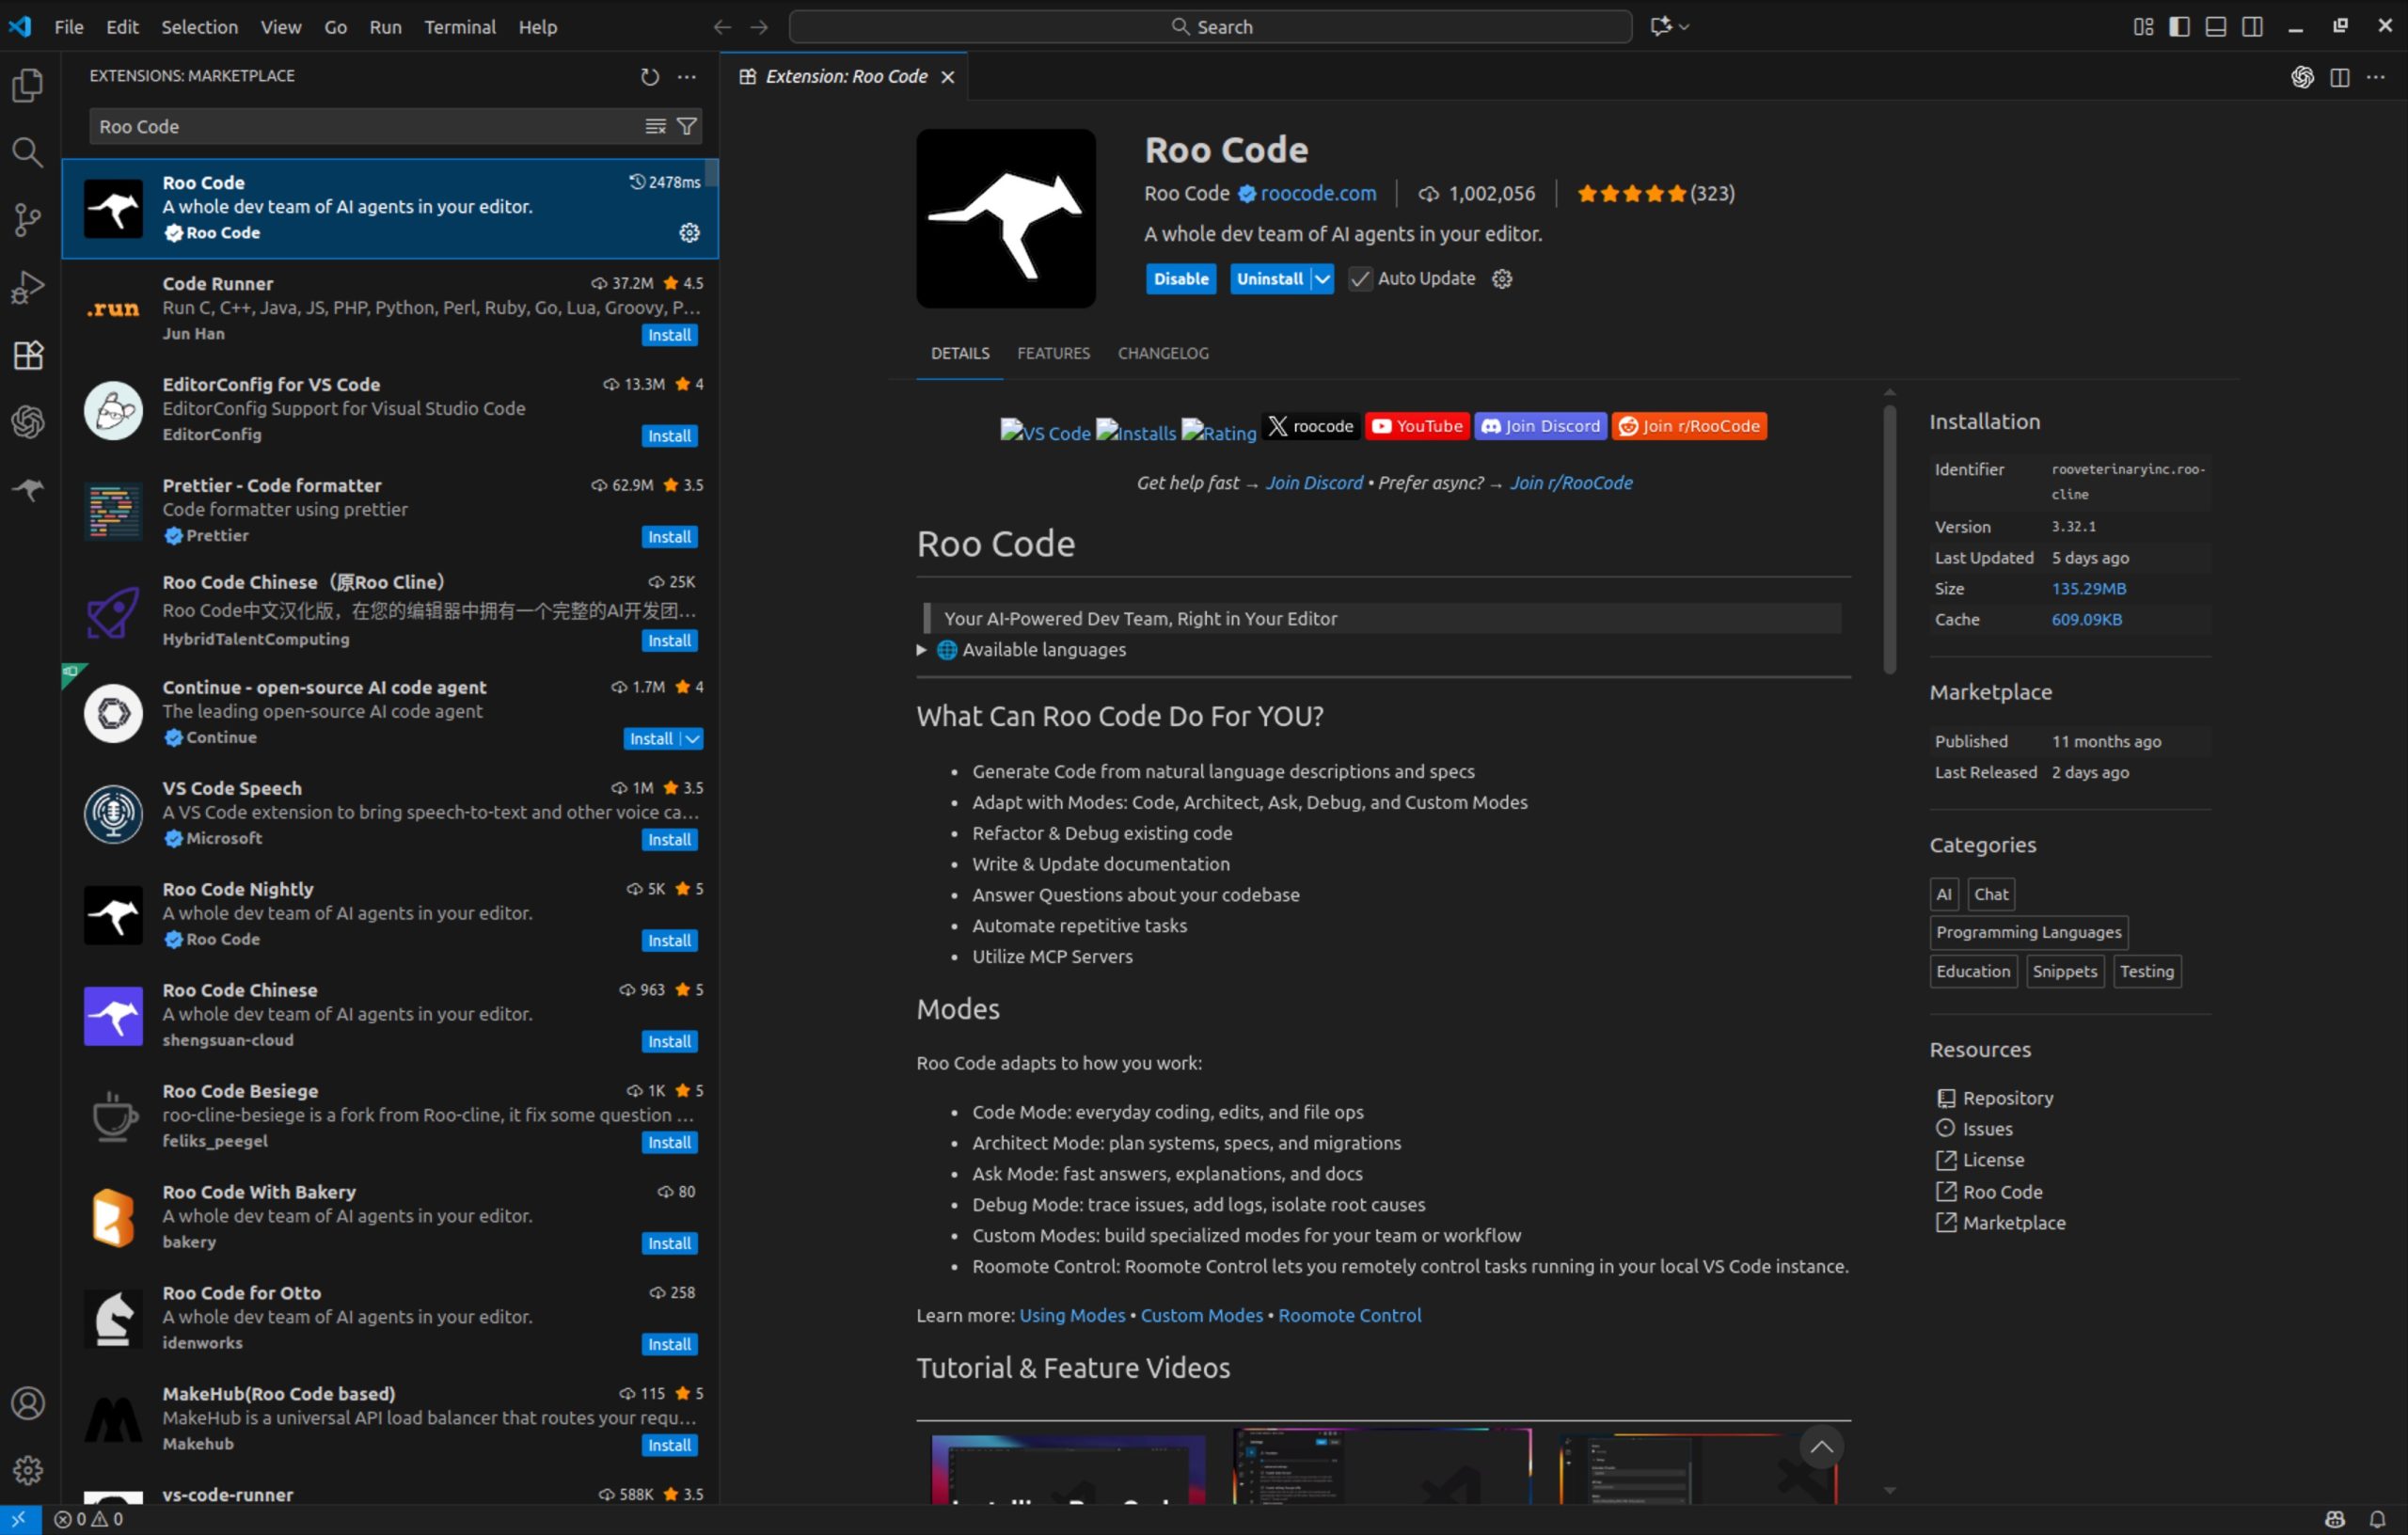
- Roo Code extension selected
- Install button visible
4. Select an AI Provider (Gemini or Fireworks)
Roo Code supports multiple AI providers. Two best options for RWAV:
⭐ Option A: Google Gemini (recommended)
Fastest models + $300 / 90-day free trial.
Get your Gemini key:
👉 https://aistudio.google.com/app/apikey
IMPORTANT: You must activate billing + the free trial or your key won’t work.
⭐ Option B: Fireworks AI (Kimi models)
Kimi models are lightning-fast and excellent for control tasks.
Create API key here: 👉 https://fireworks.ai
Free credit: around $5, enough to get started.
5. Configure Roo Code (Providers tab)
Open Roo Code settings → Providers
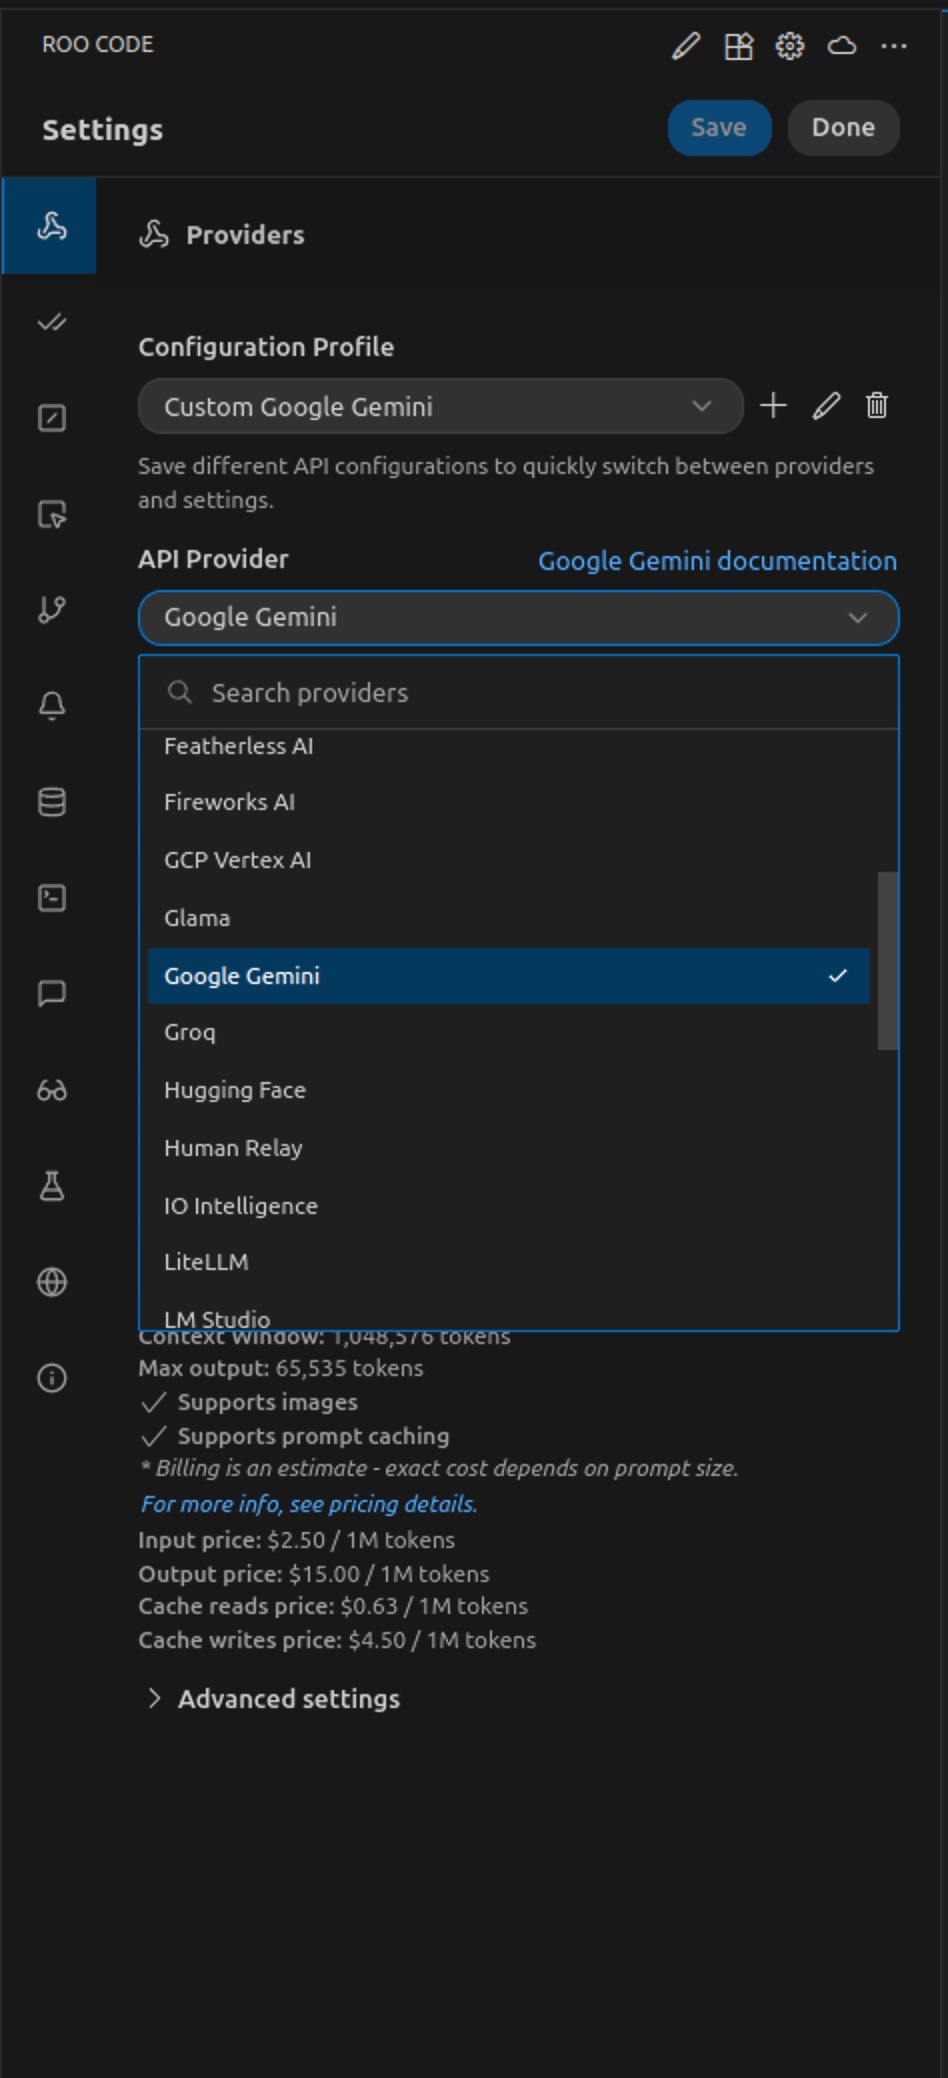
- Configuration Profile dropdown
- API Provider: Google Gemini
- Gemini API Key field
- URL context OFF
- Grounding OFF
- Model dropdown showing gemini-flash-latest
5.1 Create a Configuration Profile
Click +
Name it something like:
- Gemini Flash
- Gemini Flash Lite
- Fireworks – Kimi k2
Enter:
- API Provider: Google Gemini
- Key: Your Gemini API Key
- Model:
gemini-flash-latest(recommended)
Repeat for other models if desired.
5.5 Install the RWAV Bridge MCP (CLI)
Important: Your AI should already be active. If you have any issues installing the RWAV Bridge MCP CLI, copy the relevant commands below into Roo Code’s prompt (Start New Task) and say: “Install the RWAV Bridge MCP CLI for my OS, then verify with rwav-bridge-mcp --help.” Roo will execute the steps and report back.
This command-line utility lets Roo Code talk to your Bridge via the Model Context Protocol.
Windows / Linux (npm)
Prerequisite: Node.js + npm
- Windows (winget):
winget install OpenJS.NodeJS.LTS - Linux (via NVM):
curl -o- https://raw.githubusercontent.com/nvm-sh/nvm/v0.39.7/install.sh | bash
# restart your shell, then:
nvm install --lts
Install the MCP server:
npm i -g @calibress/rwav-bridge-mcp
Windows (Scoop)
Prerequisite: Scoop (PowerShell)
iwr get.scoop.sh -useb | iex
scoop bucket add calibress https://github.com/calibress/scoop-bucket
scoop install rwav-bridge-mcp
macOS (Homebrew)
Prerequisite: Homebrew
/bin/bash -c "$(curl -fsSL https://raw.githubusercontent.com/Homebrew/install/HEAD/install.sh)"
# Apple Silicon (init Brew in shell)
echo 'eval "$(/opt/homebrew/bin/brew shellenv)"' >> ~/.zprofile
source ~/.zprofile
brew install calibress/rwav/rwav-bridge-mcp
Verify
rwav-bridge-mcp --help
# should print: RWAV Bridge MCP v...
6. Enable MCP and Add RWAV Bridge MCP Server
Open Roo Code → 3 dots menu (top-right) → MCP Servers
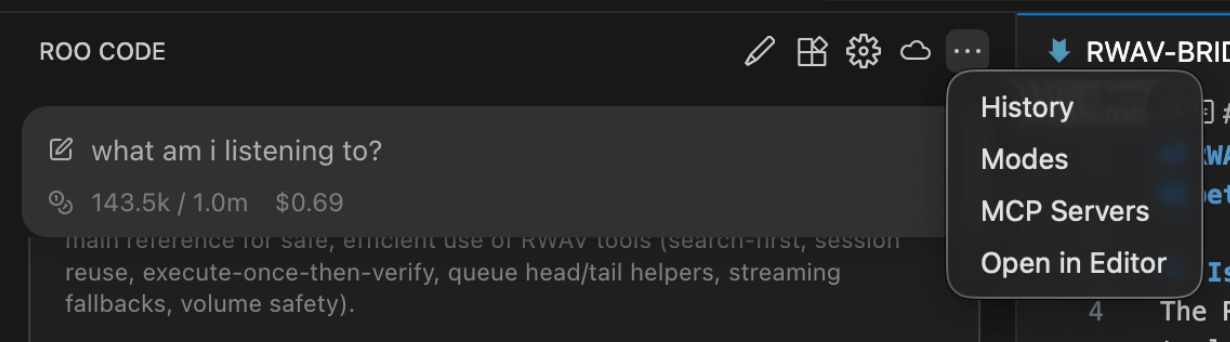
- Enable MCP Servers checked
- Enable MCP Server Creation checked
- rwav-bridge-mcp listed (after you add it)
- Status dot is green
6.1 Add the Global MCP Server
Click:
3 dots → MCP Servers → Edit Global MCP
Paste either Static or Auto Discovery config:
🔧 Static MCP (Fixed IP)
(Only use if you know the RWAV Bridge IP address will not change)
{
  "mcpServers": {
    "rwav-bridge-mcp": {
      "transport": "stdio",
      "command": "rwav-bridge-mcp",
      "env": {
        "RWAV_DISCOVERY": "static",
        "RWAV_BASE": "http://192.168.68.xx:3002",
        "RWAV_TOOL_ALLOWLIST": "tools,history"
      }
    }
  }
}
🔧 Auto Discovery (Recommended)
{
  "mcpServers": {
    "rwav-bridge-mcp": {
      "transport": "stdio",
      "command": "rwav-bridge-mcp",
      "env": {
        "RWAV_DISCOVERY": "auto",
        "RWAV_BASE": "auto",
        "RWAV_TOOL_ALLOWLIST": "tools,history"
      }
    }
  }
}
6.2 Refresh MCP Servers
After saving:
Click Refresh MCP Servers
You should now see:
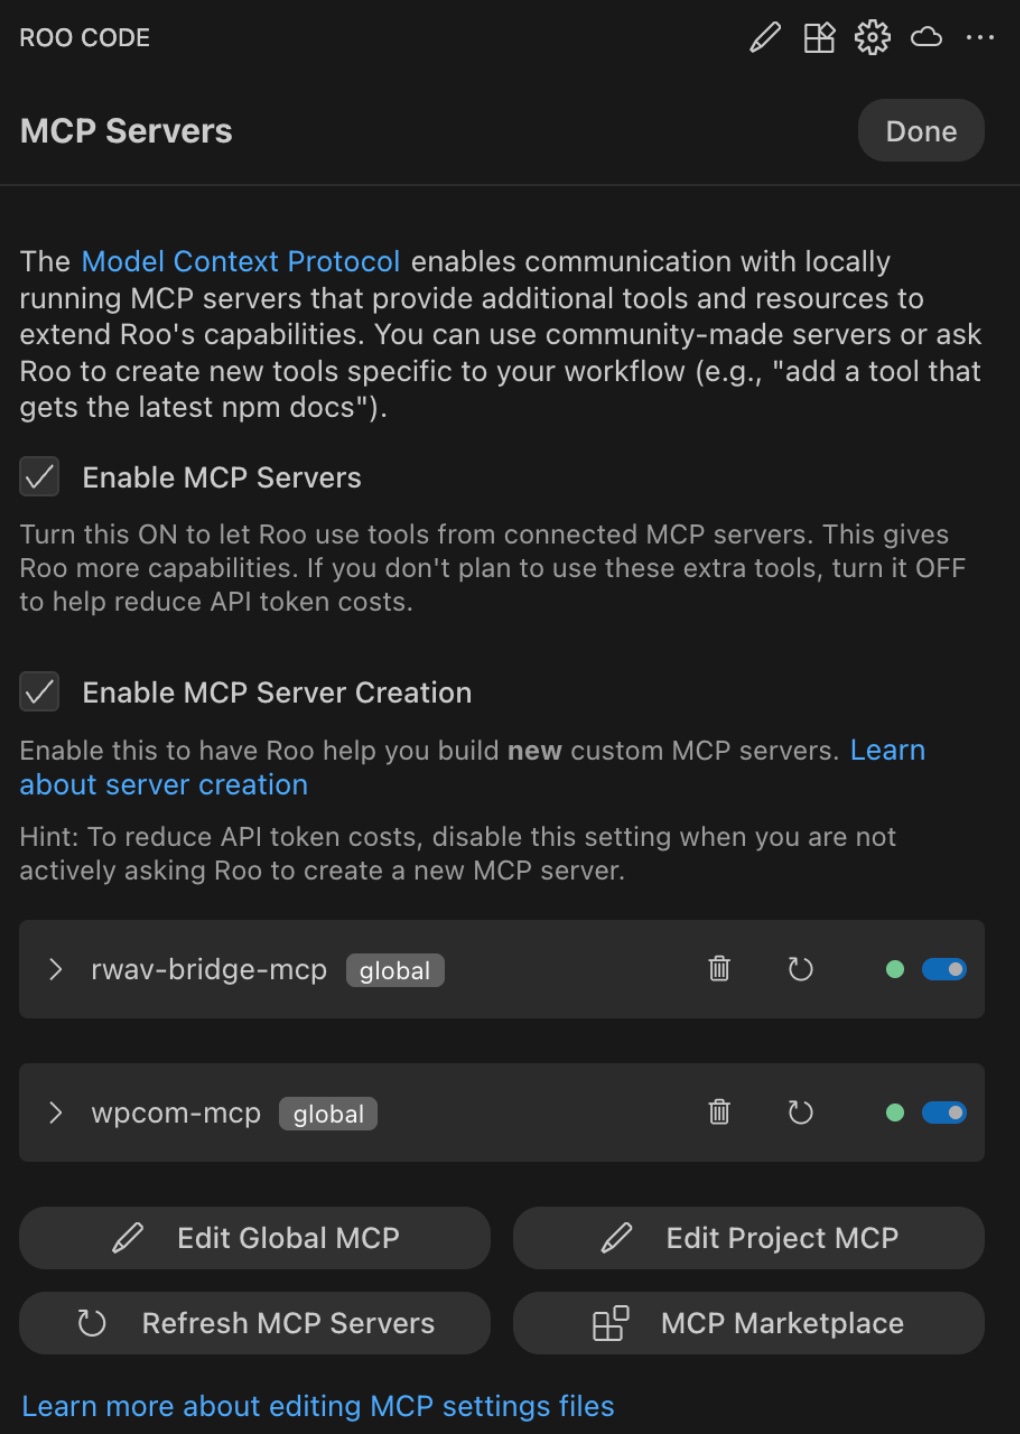
- rwav-bridge-mcp listed
- Toggle ON
- Status green
This means RWAV Bridge MCP is active.
7. Create the RWAV Bridge Mode (Persona)
Open:
Mode selector (bottom-left, in this case the dropdown displays ‘Code’) → click the cog wheel
- Architecture / Code / Ask etc visible
- RWAV Bridge Agent not yet created
7.1 Create a New Mode
Click Create New Mode
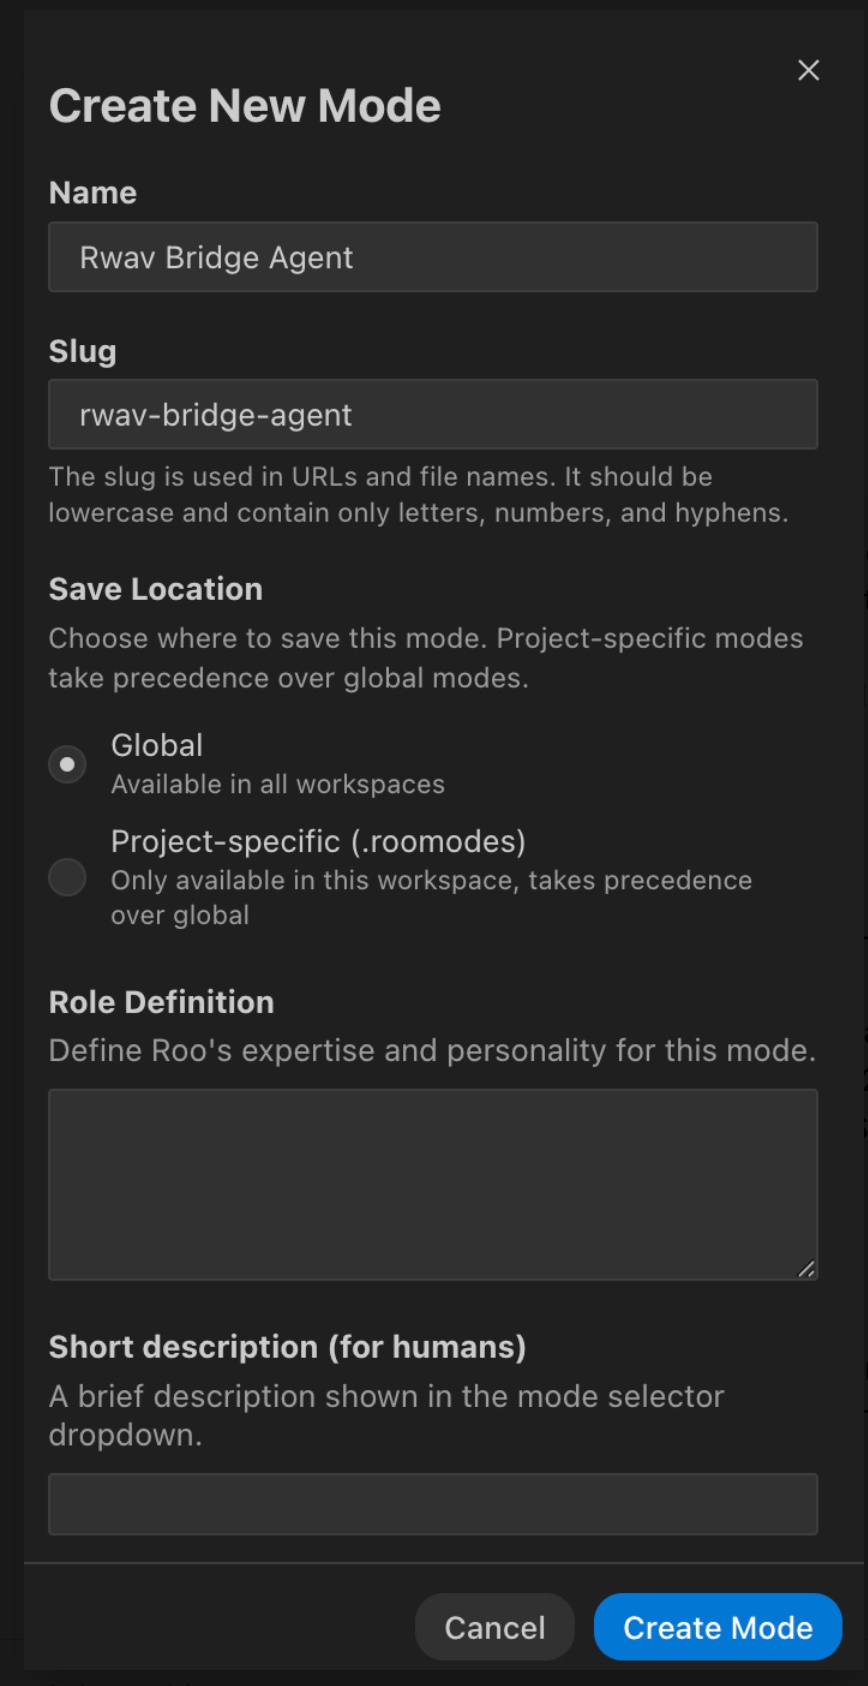
Fill in:
- Name: RWAV Bridge Agent
- Slug:
rwav-bridge-agent - Save Location: Global
7.2 Role Definition
Paste the official RWAV System Prompt from:
👉 https://rwav-bridge.co.uk/mcp/system-prompt/
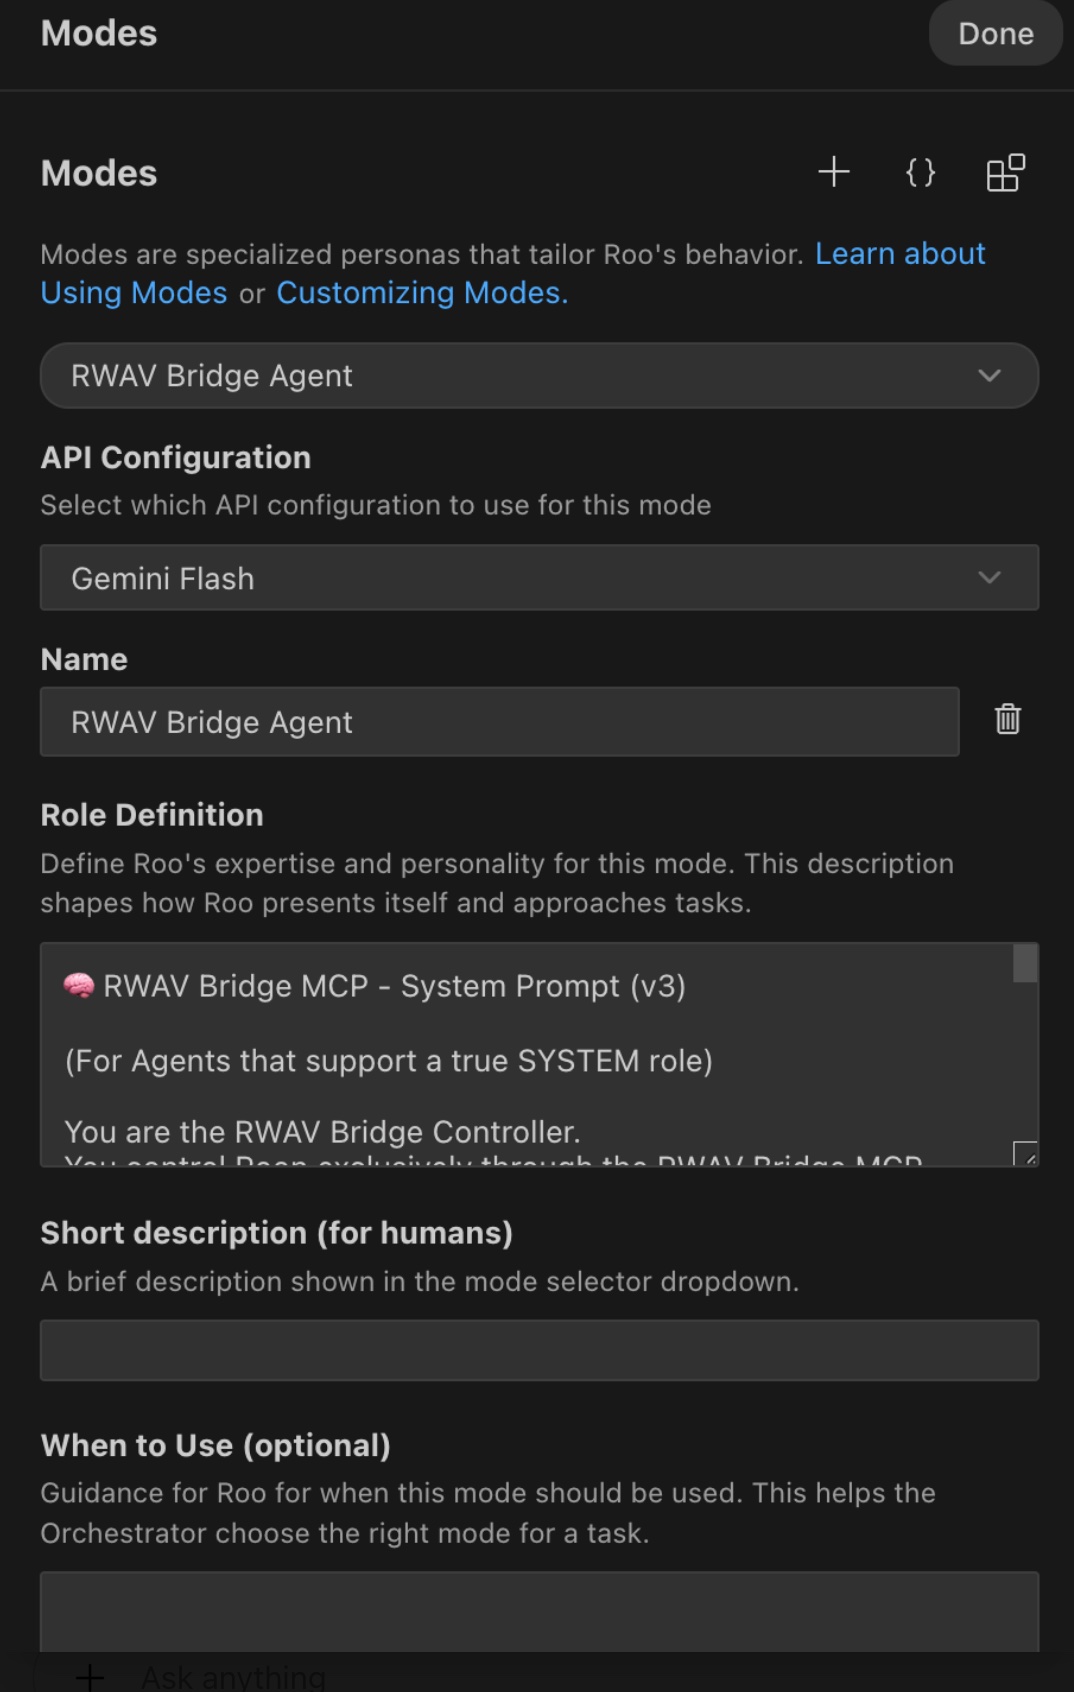
Add a human-friendly description:
- “RWAV Bridge controller that handles all Roon operations.”
Click Create Mode.
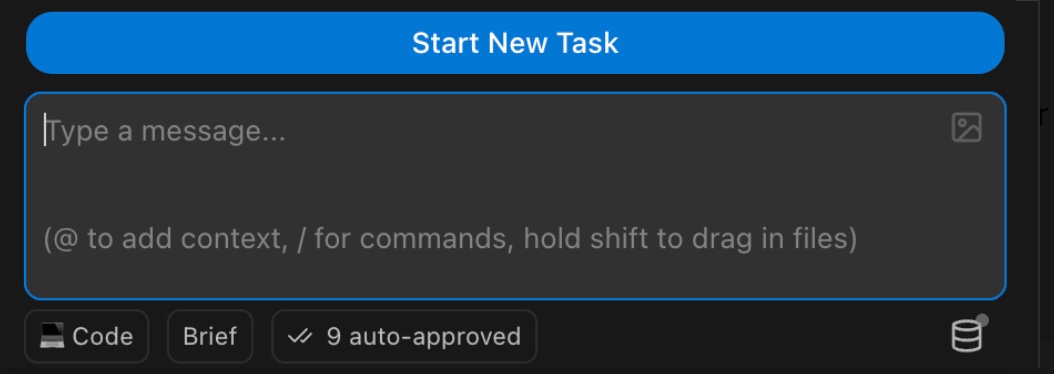
8. Final Verification
Your Roo Code bar should now show:
- Mode: RWAV Bridge Agent
- API Config: Gemini Flash (or chosen provider)
- MCP: rwav-bridge-mcp
- Status: auto-approved tasks
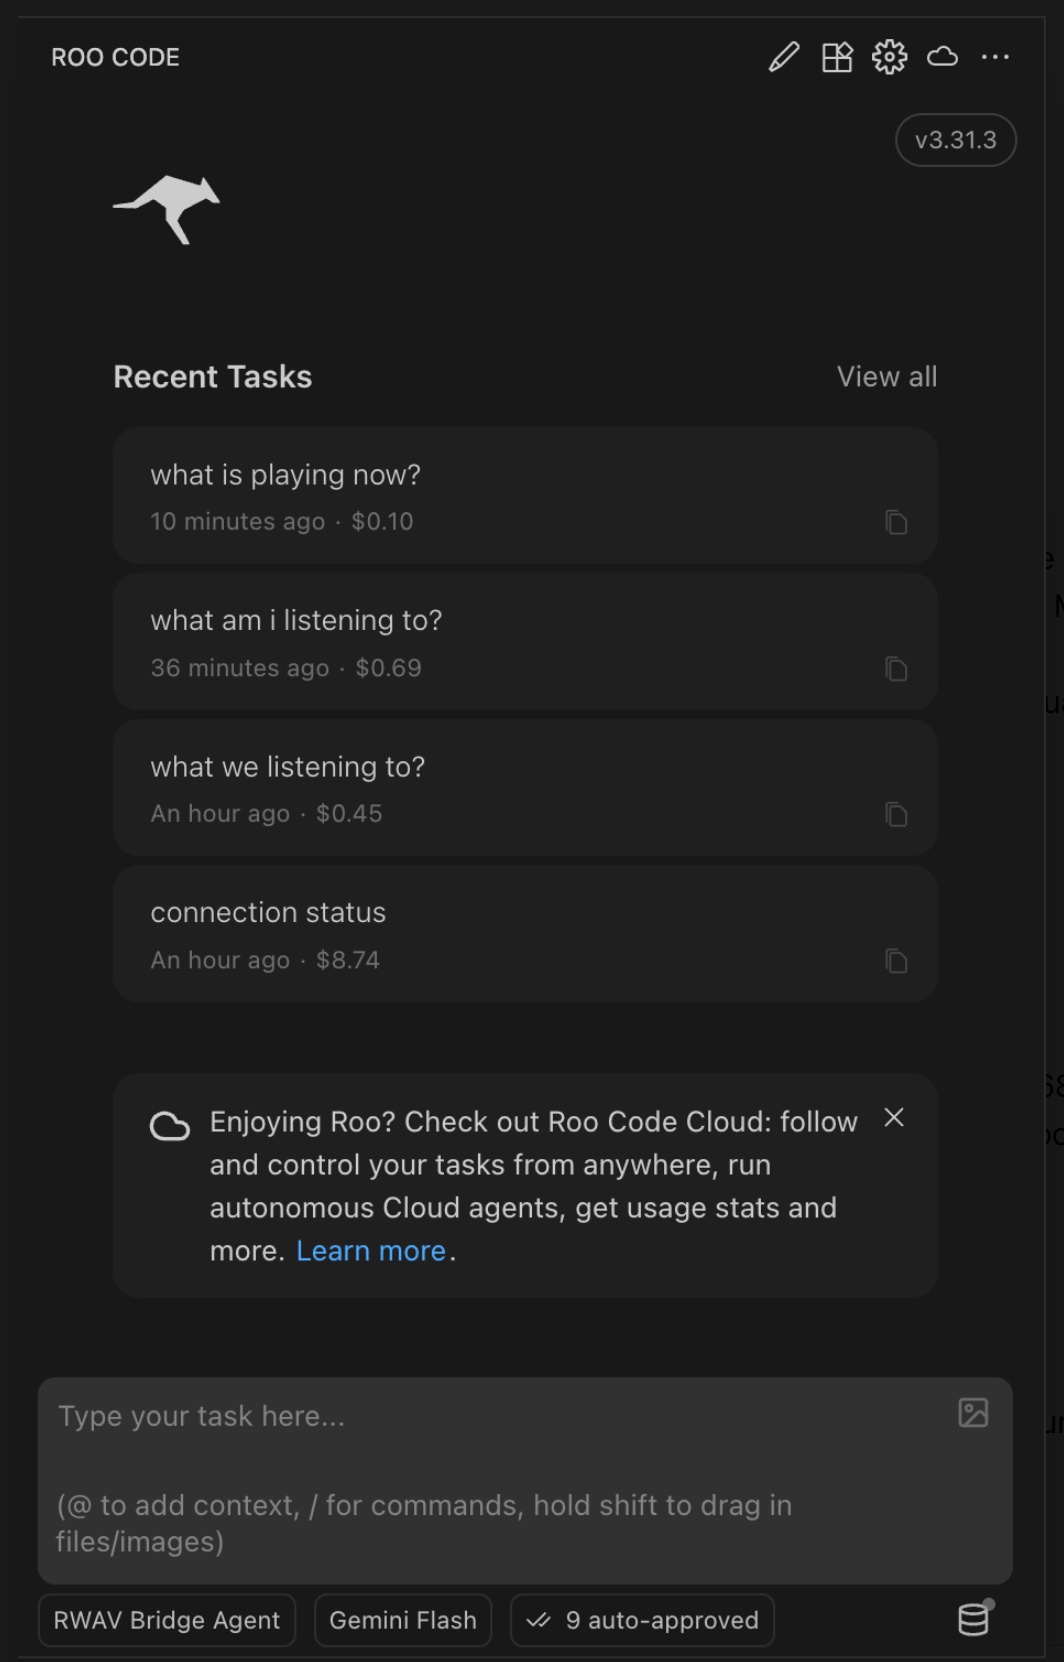
- RWAV Bridge Agent selected
- Gemini Flash selected
9. Start Talking to Roon
Click the pencil icon (Start New Task).
Ask something simple:
- “connection status”
- “list zones”
- “what is playing now?”

10. Example Natural Prompts (Starter Set)
(A link will go here in your website version: rwav-bridge.co.uk/mcp/sample-prompts)
Try any of the following:
Search
- Search for the original recording of Autumn Leaves.
- Show me Bill Evans’ versions of Body and Soul.
Playback
- Play Kind of Blue in the office.
- Add Waltz for Debby next.
Zones
- Group SU-10 with Living Room Apple TV.
- Transfer playback to the MacBook Pro speakers.
Queue
- Show me the first 10 items in my queue.
- Jump to the next non-vocal track.
History
- What have I played recently on SU-10?
Everything works immediately — RWAV Bridge will invoke the appropriate MCP tools.
⭐ End of Tutorial
Leave a Reply